A Simple Body Scan

One simple way to calm mind and body is to do a body scan. You can start from your head or your feet and can think this through in greater or lesser detail, depending on how much time you have.  It’s a simple way to tune into the body at any time during the day.  It’s also a great way to help settle down for a good night’s sleep as Chris Holt’s insomnia body scan describes. Here is a simple scan that you can run through; do adapt it for your own body:

  • Feet: Become aware of your feet and include the sense of space between your toes
  • Ankles: Think of olive oil trickling through your ankles
  • Lower legs: Allow your calf muscles to relax, and the muscles at the side of your shins
  • Knees: Our knees have fronts, backs and sides. Time for some more olive oil or WD40 to trickle through
  • Upper legs: Tune into the front, back and sides of your thighs and release any tension
  • Pelvis & hip joints: Think of some undoing in the ball and socket of your hip joint, untighten any tension in your buttock muscles
  • Front of torso: Let your belly and solar plexus relax, think of opening across the belly and chest
  • Back of torso: Think of the back lengthening and widening, releasing tension and tightness
  • Arms: Allow the arms to flow out from the torso, thinking of them being long and lithe. Soften in the biceps and forearms
  • Wrists and hands: Think of the wrists as being wide, the palms as being open and the fingers and thumbs being long
  • Collar bones and shoulder blades: These have a natural width. If you’re upright, think of these as floating on top of the ribs
  • Neck: Release any tension in your neck, imagine space between the bones and remember the neck has a front, back and sides
  • Head: Visualise space at the head neck joint. Allow the head to be poised and balanced on the neck – still but not stiff
  • Face: Soften and widen between the brows and bridge of the nose, soften the lips and think of space between the back teeth. Relax your tongue towards the base of your mouth, rather than pressing against the roof of the mouth.

See if you’re able to continue with this awareness and relaxation as you continue with your day.

Mindfulness in the Morning

Glass with toothbrushes inside

Toothbrushes, chewing gum and dental floss isolated on white

Are you on automatic pilot in the mornings? Do you have a morning routine, particularly on work days, that is completely mindless and habitual.  Here are some things for you to think about:

  • When cleaning your teeth, are you bent over the sink, arching your back?
  • Are you gripping tightly onto the toothbrush?
  • When shaving, putting in contact lenses or painting on makeup, are you sticking your neck forward to see in the mirror?
  • When you put on your socks, are you doubled over, arching your back or over-twisting?

All these habits accumulate.  And they are multiplied many times over with all the other habits we have during the day.  And these can cause or add to back pain, neck and shoulder tension and general discomfort.

So it’s worth being more mindful.  Starting from tomorrow, see if you can be more conscious about your morning habits.  Here are some top tips:

  1. Teeth cleaning: try gripping less tightly onto the toothbrush and pressing less hard on the teeth;
  2. When bending over the sink, see if you can do so without arching the back.  Bend the knees a bit and then hinge forwards from the hip joints. Keep the neck in line with the spine;
  3. See if you really need to lean forward so much to look in the mirror.  Consider if the mirror is at the right height.
  4. When putting on socks, see if you can do so keeping the back in alignment.  Maybe bend the legs more or keep the arms longer.


Good posture in bed

Baby sleeping - very relaxed unlike adults who sleep with tension


Let’s look at sleeping positions. Do you wake up with neck pain or back pain and feel stiff and achy in the morning? What is a good pillow height? Do you sleep on your back, front or side? Here are some ideas to experiment with.

Pillow Height

The height of the pillow makes a difference. You need to find a height where your neck is in neutral. Your neck needs to be aligned with your spine rather than bent down or up.

If you sleep on your back, you many need a different height pillow than if you sleep on your side or front. Below are ideas for each position:

Sleeping on your back

Have the pillow height so your neck is comfortably aligned. If the pillow is too low, your chin will poke up in the air and the back of your neck will be shortened. If the pillow is too high, your throat may be constricted and your neck may be pushed up at the back.

Some people like their neck to be supported but others prefer just their head on the pillow. See what works best for you.

Experiment with a pillow under your knees and see what effect this has on your lower back pain.

Sleeping on your side

Find a pillow height so the neck is in neutral. It’s not advisable to tuck the chin into the body, as this can cause neck strain.  You may need a slightly more pillow height on your side than when you are on your back.

Try a pillow between your knees. This opens the hips up and doesn’t pull on the back so much.

If you have a longer pillow or a V-shaped pillow, you could also have one end of the pillow between your ankles.

If your arms feel bunched, hug a pillow (or a person!) to open up more in the chest.

Lying on your front

Depending on your body, you may not need a pillow at all – experiment to see how the pillow affects your neck.

Sleeping on your front can cause back strain for some. If it causes low back pain but is the only way you can sleep, try putting a slim pillow under your pelvis and/or lower abdomen.

Pillows – normal, V-shaped and small

Pillows are a personal choice and it is hard to gauge the pillow’s height as they sink and move under the head weight. Some shops have beds that you can lie on to test out pillows so this can help avoid an expensive mistake.

For pillows between the knees, you can use a normal pillow. A smaller pillow or a cushion can be easier to manage, especially when you turn over. Another option is a V-shaped pillow, where the point of the V goes between the knees and the long lines sit between the ankles and thighs. This is very comfortable. Breastfeeding pillows that have a curved shape work well too.

Computer Monitors – Screen Height.

Correct computer monitor height  to avoid neck pain

To avoid neck strain, the top of your computer monitor should be at eye level, about an arm’s length away. Our eyes naturally look about 15 degrees down and so will then naturally look onto the screen.

There are various bits of equipment that you can buy to raise the screen but a cheap and cheerful option is to prop it up on some large books.

For laptops, it’s a different scenario as the screen is invariably too low and may even be a little close. This is fine if only using the laptops for short periods of time. If you are using a laptop a lot and don’t need it to be too portable, you can buy a separate keyboard and mouse. Ideally, the keyboard should be a “low profile” keyboard – one that is fairly flat. You can then prop the laptop up, an arm’s length away, with the top of the monitor at eye level. There are different types of kit available for this including ones that are like cookery book holders and others that are like bean bags. But, once again, you can always prop the laptop up on some large books.

Posturally, it is not good to push your head and neck forward to read the screen. This can cause neck pain, back and shoulder strain. It’s worth getting your eyes tested regularly to ensure you can see clearly.  You can also look at getting a larger screen or adjusting the print size on screen. But also trust your eyes as pushing the head forward may just be an unnecessary habit.

So as well as thinking about your computer set up, think about your body and how you use it.

Head Balance – Part 2

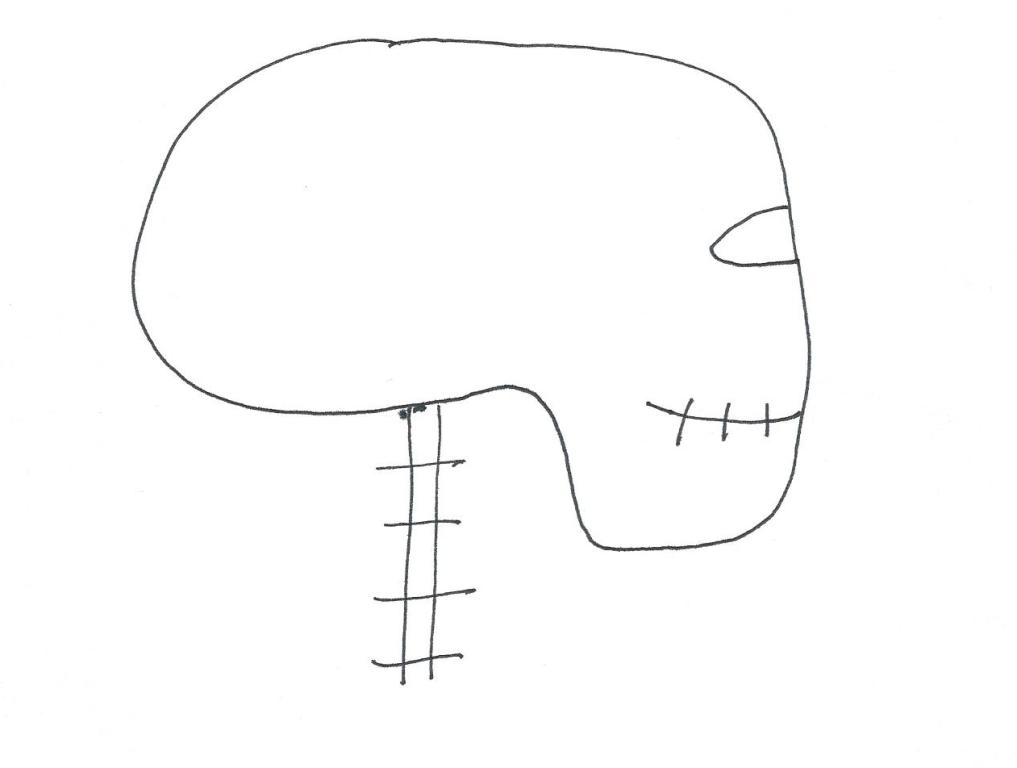
Drawing of Head Neck Balance for correct posture

Drawing of Head Neck Balance for correct posture

Having found out where the head balances on top of the neck, what next?  Our heads are very heavy – the equivalent weight of 4 to 5 litres of water. With this heavy weight on top of the body, it needs to work with us and not against us. If the head hangs down, it pulls on the neck and back. If we tilt our head back it’s also a strain on the neck, back and shoulders. Pushing our head forward to look at the computer screen also strains the neck and back.

So we want to find a natural balance point that takes the stress and tension away from the body.

We need to free the neck first. This is just a thought rather than something to do. Allow the muscles to undo tension in the neck and to not clamp or fix onto the head. Soften the jaw. And then allow the head to slightly nod forward from the balance point between the ears. Then think to free the neck again.

The head neck balance wants to be free, not fixed in one position. So we need to keep reminding the head and neck of their optimal balance as existing habits will creep back very quickly.

Head Neck Balance Part 3 shows the rockers on the base of the skull in more anatomical detail.

There is quite a bit more to this than meets the eye and this is easy to mistranslate. It really needs the skilled guidance of an Alexander Technique teacher’s hands to help. If you’d like more insight, you can come along for a one to one lesson.